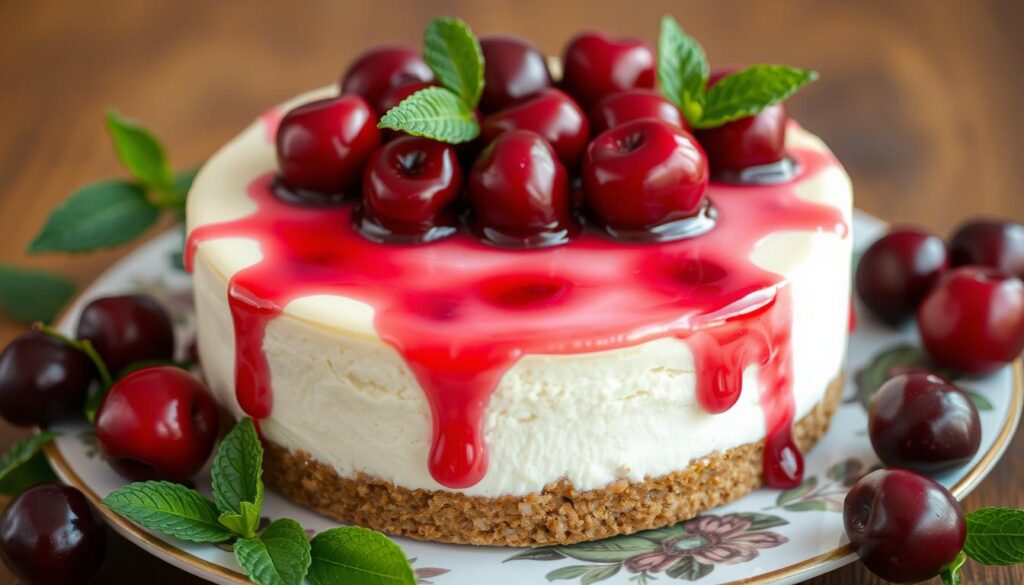
Walking through the kitchen, I caught the scent of cherry cheesecake. It brought back memories of my childhood. The creamy texture and sweet, tangy cherries are comforting. I’m excited to share this classic recipe with you.
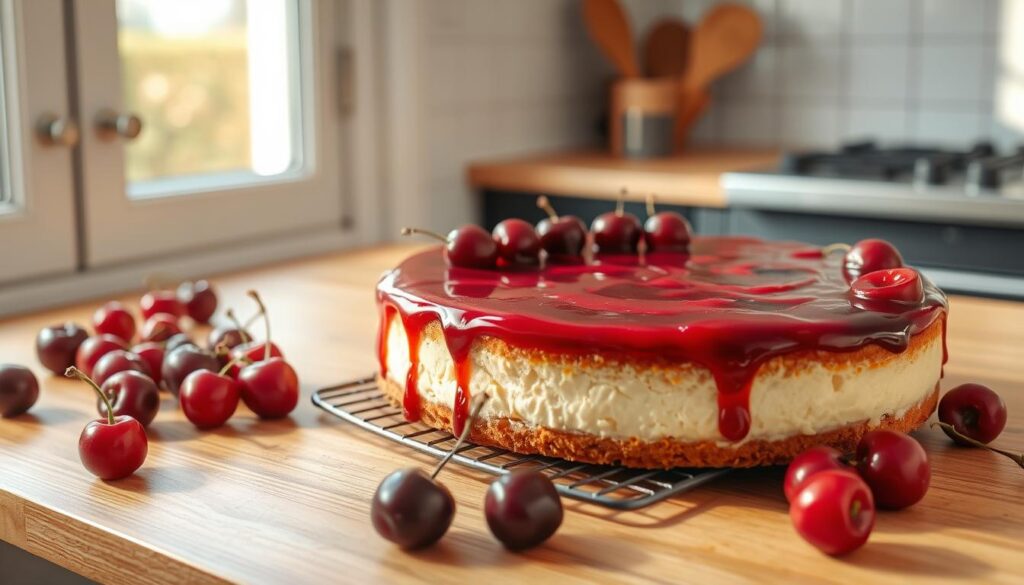
This cherry cheesecake is perfect for anyone, whether you’re experienced or new to baking. It has a smooth cream cheese filling, a buttery graham cracker crust, and a cherry pie topping. It’s a true indulgence.
Table of Contents
Introduction to Classic Cherry Cheesecake
Cherry cheesecake is a timeless dessert loved by many. It mixes a creamy filling with a sweet-tart cherry topping. The recipe is known for its smooth texture, thanks to almond extract and cinnamon in the crust.
What Makes This Recipe Special
This cheesecake stands out because of its careful ingredients and preparation. High-quality cream cheese, sour cream, and almond extract make the filling smooth and balanced. The graham cracker crust adds a nice texture and spice that goes well with the cherry topping.
Brief History of Cherry Cheesecake
The cheesecake’s roots go back to ancient Greece, where it was called “placenta cake.” It was served at weddings and celebrations. Over time, the recipe evolved, especially with the New York-style cheesecake in the early 20th century. Adding cherries to the classic cheesecake is a twist that’s now a favorite, mixing creamy and fruity flavors.
“Cherry cheesecake is a timeless dessert that captures the perfect balance of creamy and fruity flavors. The rich, velvety filling and the sweet-tart topping create a delightful harmony that is sure to satisfy any sweet tooth.”
Essential Ingredients Overview
Making a perfect cherry cheesecake needs the right ingredients. At its core is cream cheese, which gives the cheesecake its creamy texture. You’ll also need sugar, cornstarch, eggs, vanilla extract, almond extract, lemon juice, sour cream, heavy cream, and cherry pie filling on top.
The graham cracker crust is key. To make it, you’ll need graham cracker sheets, brown sugar, cinnamon, salt, and melted butter. Make sure all ingredients are at room temperature for a smooth batter.
| Ingredient | Quantity |
|---|---|
| Cream Cheese | 32 oz (4 packages) |
| Granulated Sugar | 3 oz (1 cup) |
| Cornstarch | 2 tsp |
| Eggs | 4 |
| Vanilla Extract | 2 tsp |
| Lemon Juice | 1 tbsp |
| Sour Cream | 3/4 cup |
| Heavy Cream | 1/4 cup |
| Cherry Pie Filling | 21 oz (2 cans) |
| Graham Cracker Crumbs | 6 oz |
| Unsalted Butter, Melted | 3 oz (1/2 cup) |
| Brown Sugar | 1/4 cup |
| Cinnamon | 1/2 tsp |
| Salt | 1/4 tsp |
With these ingredients, you’re set to make a delicious cherry cheesecake. It’s sure to wow your family and friends.
Kitchen Tools and Equipment Needed
To make the perfect cherry cheesecake, you’ll need some key tools. A 9-inch springform pan is essential. It lets you remove the cake easily for a stunning look. You’ll also need a stand mixer or electric hand mixer for the creamy filling.
Required Baking Tools
- 9-inch springform pan
- Stand mixer or electric hand mixer
- Food processor (for making the graham cracker crust)
- 9×13 baking dish (for the water bath)
- Offset spatula (for smoothing the top of the cheesecake)
Optional Equipment Recommendations
Some extra tools can make cheesecake baking easier:
- Instant-read thermometer (for checking the internal temperature of the cheesecake)
- Cheesecake water bath wrap (to prevent leaks during baking)
With these tools, you’re ready to make a delicious, professional-looking cherry cheesecake at home. The right tools help get the perfect texture and look.
Graham Cracker Crust Preparation
Making the perfect graham cracker crust is key for your cherry cheesecake. This step is crucial for the creamy filling. Let’s explore how to make this tasty base.
You’ll need about 12 full sheets of regular graham crackers. This will give you 1 1/2 cups (180 grams) of crumbs. In a medium bowl, mix the crumbs with 1/4 cup (50 grams) of brown sugar, 1/2 teaspoon of cinnamon, and 1/4 teaspoon of salt.
Then, melt 6 tablespoons (84 grams) of unsalted butter. Pour it into the graham cracker mix. Use a fork or your hands to mix until the crumbs are well coated and look like damp sand.
Get a 9-inch springform pan ready by greasing it lightly. Press the crust mix into the pan, making sure it covers the bottom and goes up the sides a bit. This will help your cheesecake base stay strong.
Bake the crust at 350°F (177°C) for 10 minutes, or until it’s lightly golden. Let it cool completely before adding the cheesecake filling.
“The graham cracker crust is the unsung hero of a delicious cheesecake. It provides the perfect balance of sweet and nutty flavors to complement the rich, creamy filling.”
Now that the crust is ready, it’s time to make the cherry cheesecake filling. Get ready for the next step!
Cherry Cheesecake Filling Components
The filling is the heart of a cherry cheesecake. It’s made with top-notch cream cheese and the right mix of room-temperature ingredients. This mix creates a dessert that’s both rich and creamy.
Cream Cheese Selection Tips
For the creamiest cheesecake, use full-fat cream cheese. It has more fat, making the dessert richer and more luxurious. Choose a trusted brand for the best taste.
Importance of Room Temperature Ingredients
It’s key to have all ingredients – cream cheese, eggs, sour cream, and heavy cream – at room temperature. This makes the batter smooth and prevents lumps. Letting ingredients warm up is a crucial step for a perfect cheesecake.
| Cheesecake Filling Ingredients | Quantity |
|---|---|
| Cream Cheese, softened | 8 oz. |
| Granulated Sugar | 1/2 cup |
| Heavy Whipping Cream | 1 1/2 cups |
| Sour Cream | 1/2 cup |
| Vanilla Extract | 1 tsp |
“The secret to a luscious, creamy cheesecake filling is all in the cream cheese and ensuring your ingredients are at the perfect temperature.”
Step-by-Step Mixing Process
Making the perfect cheesecake filling is all about mixing. Begin by beating the cream cheese in a big bowl until it’s smooth. Then, slowly add the sugar and cornstarch, making sure to scrape the bowl sides.
After that, mix in the vanilla extract, almond extract, and lemon juice to boost the flavors. Add the eggs one by one, mixing well after each egg. This ensures a smooth cream cheese batter.
- Beat the cream cheese until smooth and creamy.
- Gradually add the sugar and cornstarch, scraping down the sides.
- Mix in the vanilla, almond extract, and lemon juice.
- Incorporate the eggs one at a time, mixing well after each addition.
- Fold in the sour cream and heavy cream until the mixture is smooth.
- Avoid overmixing to prevent air incorporation, which can cause cracks.
Finally, gently mix in the sour cream and heavy cream until the cheesecake mixing is smooth. Don’t overmix, as it can introduce air and lead to cracks.
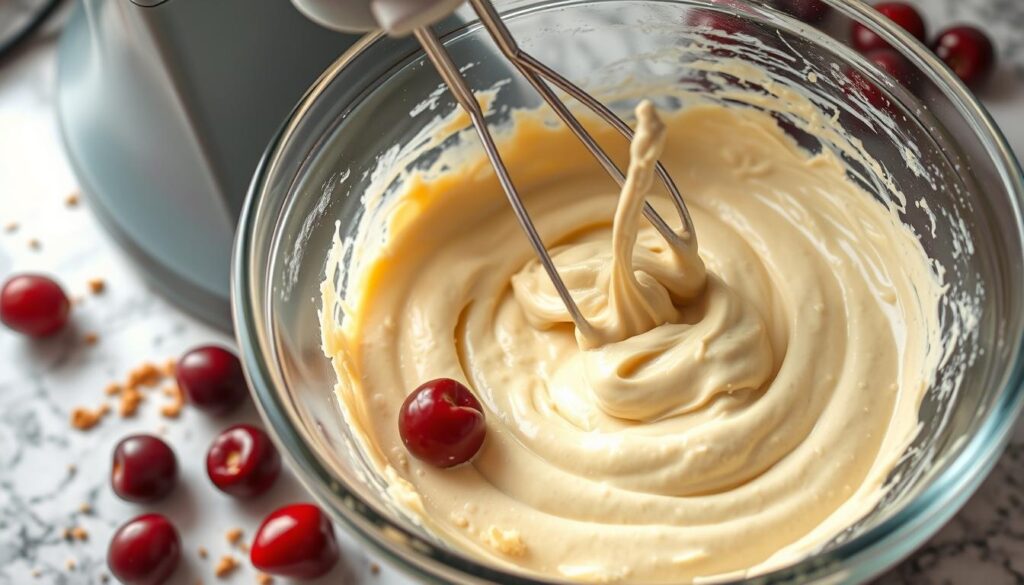
“Achieving the perfect creamy texture is all about finding the right balance in the cream cheese batter.”
Proper Baking Techniques
Mastering temperature control and the water bath method is key to baking a perfect cheesecake. These techniques ensure your cherry cheesecake is creamy, smooth, and crack-free. Follow these guidelines for success every time.
Temperature Control Guidelines
Bake your cherry cheesecake at a steady 350°F for the best results. This temperature helps the cheesecake set right, making it rich and dense. Bake for about 1 hour and 15-20 minutes, depending on your oven and cheesecake size.
Water Bath Method
The water bath method prevents your cheesecake from drying out or cracking. Here’s how to do it:
- Put a 9×13-inch baking dish filled with hot water on the bottom oven rack.
- Place your cheesecake pan on the middle oven rack, above the water bath.
- The steam from the water bath keeps the oven humid. This stops the cheesecake from drying out and cracking.
Your cheesecake is ready when the edges are set and the center jiggles a bit. Use an instant-read thermometer to check the internal temperature. It should be between 150-155°F. This shows the cheesecake is cooked but still creamy and soft.
By controlling temperature and using the water bath method, you’ll bake a stunning cherry cheesecake. It will impress everyone you share it with.
Cherry Topping Preparation
Take your cherry cheesecake to the next level with a delicious cherry topping. It’s made with cherry pie filling and fresh cherries. This mix gives a sweet-tart flavor that will make your taste buds happy.
To make the topping, start by removing the pits from some cherries and cutting them into quarters. Mix a third of these cherries with cornstarch until smooth. Then, cook this mix with a bit of sugar until it thickens into a jam-like consistency.
Gently add the rest of the whole cherries to the mix. Let it cool down completely before you put it on your cherry cheesecake.
- Use 21 oz of cherry pie filling for an easy topping.
- For a homemade version, blend 1/3 of the pitted cherries with cornstarch, cook with sugar until thick, then fold in the remaining cherries.
- Allow the cherry topping to cool completely before adding it to the cheesecake.
This cherry cheesecake topping brings a sweet-tart flavor that goes great with the creamy filling. Make your cherry cheesecake even better with this simple, homemade topping. Your guests will love it.
Cooling and Setting Process
Once your mouthwatering cherry cheesecake comes out of the oven, the real magic starts. Cooling and setting it right is key to getting that perfect creamy texture and avoiding cracks. Let’s explore the steps to make sure your cheesecake turns out beautifully.
Room Temperature Cooling
After baking, turn off the oven and open the door a bit. Let the cheesecake cool slowly in the oven for about 1 hour. This slow cooling helps avoid sudden temperature changes that can cause cracks. After the first hour, take the cheesecake out and let it cool at room temperature for another 30 minutes.
Refrigeration Requirements
The last step is to refrigerate the cheesecake for at least 4 hours, or even better, overnight. This long chilling time is key for the cheesecake to set fully and get that creamy, smooth texture. The cheesecake cooling and setting cheesecake process makes sure it holds its shape when you slice it and gives a delightful, melt-in-your-mouth feel.
By following these temperature control steps and giving enough time for cheesecake cooling and setting cheesecake, you’ll get a stunning cherry cheesecake perfect for any special occasion.
| Nutrient | Amount per Serving |
|---|---|
| Calories | 352kcal |
| Carbohydrates | 31g |
| Protein | 4g |
| Fat | 25g |
| Saturated Fat | 13g |
| Polyunsaturated Fat | 10g |
| Cholesterol | 34mg |
| Sodium | 181mg |
| Fiber | 1g |
| Sugar | 17g |
No-Bake Cherry Cheesecake Variation
Craving a creamy cheesecake but short on time? Try this no-bake cherry cheesecake recipe. It’s quick, easy, and perfect for hot summer days or when you need a sweet treat fast. With just a few ingredients and no baking, this easy cheesecake recipe is a breeze to make.
To start, mix 2 packages of cream cheese with 1 can of sweetened condensed milk. Then, gently fold in whipped topping until it’s smooth. Spread it in a graham cracker crust and chill for at least 2 hours. Top with cherry pie filling just before serving for a stunning look and fruity flavor.
This no-bake cherry cheesecake is super versatile. You can use different fruit fillings like blueberry or peach. Or, try making cheesecake bars or individual servings in jars for a unique twist. Plus, it’s easy to make ahead, so your dessert is ready when you are.
Whether you’re hosting guests or just want a sweet treat, this no-bake cherry cheesecake will wow them. It’s quick to make, creamy, and delicious. It’s a great addition to your dessert collection.
Storage and Preservation Methods
Storing your cherry cheesecake right is crucial for keeping its flavor and texture perfect. Whether you plan to eat it soon or later, knowing the best ways to store and freeze it is important.
For short-term storage, the fridge is your go-to. Keep it covered and chilled for 5-7 days. This way, its creamy texture and delicious taste stay just right. But, if you want to keep it longer, the freezer is your best option.
- Wrap the cheesecake tightly in plastic wrap, followed by a layer of aluminum foil, to prevent freezer burn and lock in freshness.
- Freeze the wrapped cheesecake for up to 3 months, allowing you to enjoy its decadence long after the initial baking.
- When ready to serve, thaw the cheesecake overnight in the refrigerator for the best results, ensuring a smooth, creamy texture upon slicing.
For a make-ahead option, you can make the cheesecake without the topping and refrigerate it for up to 48 hours before serving. This makes the final assembly easier, so your guests get a freshly baked treat.
“Freezing cheesecake is a game-changer, allowing you to savor its richness long after the initial indulgence.”
Remember, the right storage and preservation methods are key to keeping your cherry cheesecake at its best. By following these tips, you can be sure your homemade cheesecake will stay delicious for a long time.
Troubleshooting Common Issues
Baking the perfect cheesecake can be tricky. But with some tips, you can make sure it’s perfect every time. Let’s look at some common cheesecake troubleshooting problems and how to fix them.
Preventing Cracks and Sinking
Cracks or a sunken center in cheesecake can be a big problem. To avoid this, don’t overmix the batter. This can introduce too much air and cause cracks. Also, baking in a water bath helps keep the temperature even and prevents cracks.
If your cheesecake does crack, don’t worry. Just cover the cracks with your cherry topping. It will look like it was meant to be that way.
Texture Problems Solutions
If your cheesecake feels lumpy or grainy, check your ingredients. Make sure the cream cheese is at room temperature before mixing. This makes the batter smooth and creamy.
Also, mix the batter well but gently. Overmixing can make it tough. If it’s too soft, it might not have baked long enough. Chill it for a longer time to set it right before serving.
