I love making homemade tarts. It’s a fun way to create something delicious and beautiful. But, making a tart can seem scary, especially with all the steps involved.
That’s why I’m excited to share this easy cherry tart recipe. It’s perfect for beginners. It has a creamy filling, fresh cherries, and a special crust that’s easy to make. This tart is quick to make and looks fancy.
Table of Contents
Key Takeaways
- A quick and easy cherry tart recipe perfect for beginners
- Creamy vanilla custard filling with fresh cherries
- Unique crust method eliminates traditional pie crust hassle
- Comes together quickly for a sophisticated homemade dessert
- Ideal for those who want a delicious treat without the fuss
Introduction to Cherry Tarts
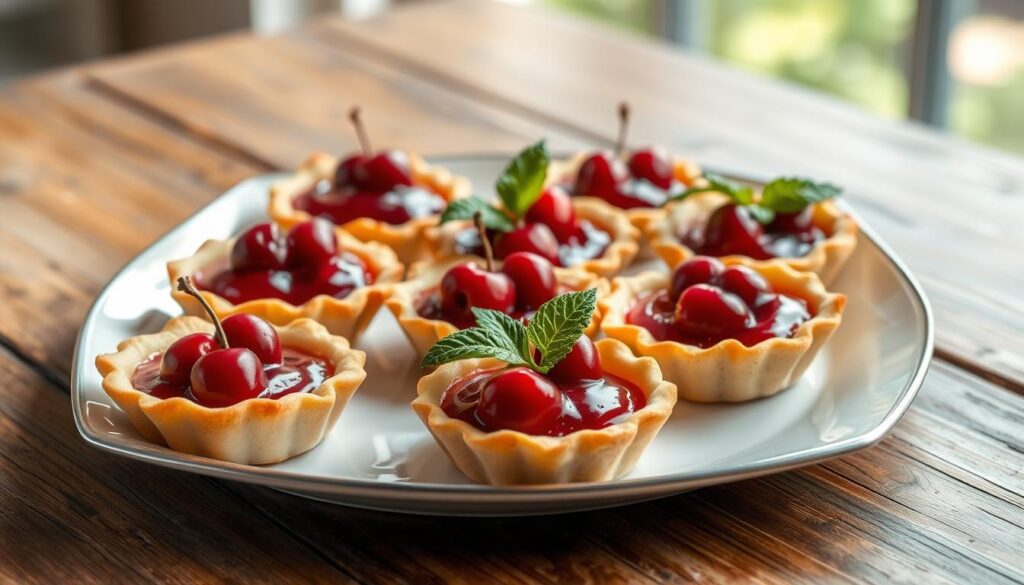
Cherry tarts are a delicious pastry dessert with a fancy twist on the classic cherry pie. They have a buttery, flaky crust that wraps around a sweet and tangy cherry filling. Making them at home lets you pick the best ingredients, ensuring fresh cherries and a homemade crust for a perfect dessert.
What are Cherry Tarts?
Cherry tarts are a pastry with a crisp, buttery crust and a creamy cherry filling. The crust is made from flour, butter, and sometimes sour cream or cream cheese for extra flakiness. The filling is made with fresh or frozen cherries, sugar, and spices.
Benefits of Making Cherry Tarts at Home
- Fresher, higher-quality ingredients: Making cherry tarts at home means you can choose the best cherries and use a homemade crust for a tastier dessert.
- Personalized flavors: You can customize the filling and crust to your liking, adding vanilla, cinnamon, or almond extract.
- Fun baking experience: Creating your cherry tarts is a rewarding and enjoyable baking activity that lets you improve your skills.
- Healthier option: By making cherry tarts at home, you can control the sugar and other ingredients, making it a healthier dessert option.
Homemade cherry tarts offer a delightful, personalized dessert experience that is both satisfying and rewarding to make.
Ingredients Needed
To make these delightful cherry tarts, you’ll need a few simple ingredients. Let’s start with the crust:
For the Crust
- ½ cup unsalted butter melted and cooled
- Scant ½ cup granulated sugar
- 1 ¼ cups all-purpose flour
- A pinch of salt
- 2 tablespoons almond meal, ground almonds, or ground vanilla cookies
And for the luscious cherry filling:
For the Filling
- ¾ cup whipping cream
- 2 eggs, at room temperature
- 1 teaspoon vanilla extract
- 3 tablespoons granulated sugar
- 2 tablespoons all-purpose flour
- 1 pound cherries, pitted (fresh are best)
With these simple ingredients, you’ll be well on your way to creating a delightful homemade cherry tart. The unique crust method eliminates the need for refrigeration and rolling. This makes it easy for beginner bakers to follow.
Preparing the Crust
This easy cherry tart recipe has a special crust method. You don’t need to chill or roll out the dough. Just melt the butter, mix in the dry ingredients, and press it into the tart pan. This easy cherry tart crust method makes a crisp crust without the trouble.
Lining the Tart Pan
To line the tart pan, spread small dough pieces over the bottom. Press them up the sides for a thin, even crust. This easy step makes sure the crust stays in shape and supports the cherry filling.
| Ingredient | Amount |
|---|---|
| All-purpose flour | 1 cup / 120g |
| Granulated sugar | 2 tablespoons |
| Unsalted butter, melted | 8 tablespoons / 113g |
Mix the flour, sugar, and melted butter to form a soft dough. Press it into a 10-inch tart pan, covering the bottom and sides. Chill the crust for at least 30 minutes before adding the cherry filling.
“This unique crust method is a game-changer – no more struggling with traditional pie dough!” – Baking Enthusiast, Jane Doe
Cherry Tarts Filling
To make the perfect cherry tarts, picking the right cherries is key. Both sweet and tart cherries are good, but fresh, ripe ones are best. They add the most flavor and color. If you use frozen cherries, they might make your tarts a bit wetter.
Choosing the Right Cherries
Here’s what to look for in cherries for your tarts:
- Plump, firm, and blemish-free cherries
- Deep red or dark purple color, indicating ripeness
- Fresh, juicy, and bursting with flavor
A cherry pitter is great for removing pits quickly. It keeps the cherries whole and pretty for your tarts.
“The right cherries can make all the difference in your cherry tarts. Look for fresh, ripe cherries that are bursting with flavor and color.”
| Characteristic | Ideal for Cherry Tarts |
|---|---|
| Appearance | Plump, firm, and blemish-free |
| Color | Deep red or dark purple |
| Texture | Fresh, juicy, and flavorful |
| Pitting | Use a cherry pitter for a clean presentation |
Choosing the best cherries will help you make a tasty and beautiful dessert. It will surely impress your guests.
cherry tarts
Making cherry tarts at home is fun and easy, even for beginners. This recipe uses a simple crust and a creamy custard filling. It also includes fresh cherries for a great taste.
This cherry tart recipe has a special crust method. It doesn’t need chilling or rolling. This makes it quick and easy to make a beautiful cherry tart.
This recipe makes a 10-inch tart, perfect for 8-10 people. It takes about 1.5 to 2 hours to prepare. The cherry filling is thickened and then baked until golden and bubbly.
| Ingredient | Amount |
|---|---|
| All-purpose flour | 2 cups |
| Frozen defrosted cherries | 2 pounds |
| Granulated sugar | 1 cup |
| Vanilla extract | 1 teaspoon |
The tart has a buttery crust, juicy cherries, and a crunchy topping. It’s a perfect mix of flavors and textures.
“The homemade cherry tart are a delightful treat that showcase the natural sweetness of the fruit and the richness of the custard filling.”
Whether you’re experienced or new to baking, this cherry tart recipe is a must-try. It’s a delicious and beautiful dessert. Enjoy making these treats and savor the wonderful flavors.
Assembling and Baking
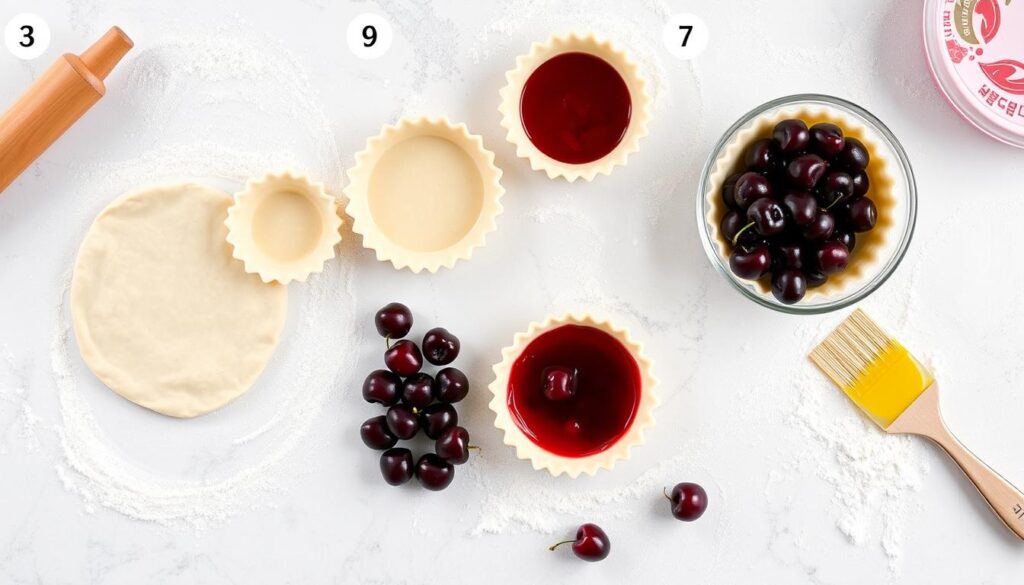
To make perfect cherry tarts, you need to mix the crust and filling well. Start by placing the pitted cherries on the tart crusts. Then, mix the custard ingredients – heavy cream, eggs, vanilla, and sugar. Pour this mixture over the cherries, making sure they’re evenly covered.
Baking Tips
When baking, aim for the filling to be just set, still a bit jiggly. This will give you a creamy texture when the tarts cool. Watch the tarts closely while they bake, adjusting the time if needed. You want the crust to be golden and the filling soft but set.
- Arrange the pitted cherries over the prepared tart crusts.
- Whisk together the cream, eggs, vanilla, and sugar to create the creamy custard filling.
- Slowly pour the custard filling over the cherries, ensuring even distribution.
- Bake the tarts until the filling is just barely set, with a slight jiggle in the center.
- Keep a close eye on the tarts during baking and adjust the time as needed to achieve the perfect texture.
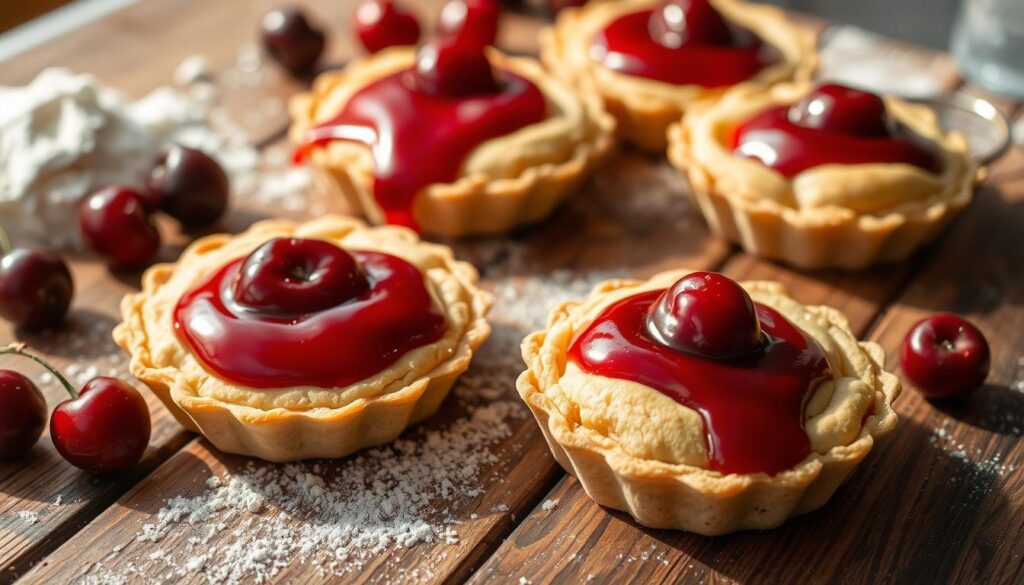
“The key to perfect cherry tarts is baking them just until the filling is set, but still deliciously soft and creamy.”
By following these steps and baking tips, you’ll make cherry tarts that will wow everyone. The flaky crust and rich filling are a treat for your taste buds.
Variations and Serving Suggestions
This cherry tart recipe is a hit with fresh cherries. But, you can try other fruits for a unique twist. Mix cherries with berries like raspberries or blueberries. Or, use stone fruits like peaches or nectarines. The options are endless!
For a different taste, swap vanilla extract for almond extract. It pairs well with cherries’ sweetness. This change can make your cherry tarts even more special.
When serving these cherry tart variations, a dusting of powdered sugar and fresh cherries is elegant. For a treat, add vanilla ice cream or creamy vanilla custard sauce. It complements the tart’s crust and filling perfectly.
| Variation | Serving Suggestion |
|---|---|
| Cherry and Berry Mix | Powdered Sugar, Fresh Cherries |
| Cherry and Stone Fruit | Vanilla Ice Cream |
| Almond Extract Infused | Vanilla Custard Sauce |
Exploring cherry tart variations will surely please your taste buds and impress guests. Be creative and enjoy trying different flavors and serving styles. Find your favorite cherry tart masterpiece!
Storage and Leftovers
Enjoying your homemade cherry tarts doesn’t have to end when the last bite is savored. With proper storage techniques, you can extend the life of your delectable treats. Here’s how to store cherry tarts and make the most of any leftovers.
Refrigerating Leftover Cherry Tarts
To store any leftover cherry tarts, simply wrap them tightly in plastic wrap or aluminum foil. Refrigerate for 1-2 hours before serving. This allows the filling to set up and prevents the crust from drying out. Refrigerated cherry tarts can be enjoyed for up to 3-4 days.
Freezing Cherry Tarts
If you have any remaining tarts, they can be frozen for up to 2 months. Wrap them well in plastic wrap or foil and place them in an airtight container or freezer bag. When you’re ready to enjoy them, simply thaw the tarts in the refrigerator before serving.
With these storage tips, you can how to store cherry tarts and make the most of any what to do with leftover cherry tarts. Enjoy your homemade cherry tarts for days to come!
| Storage Method | Shelf Life |
|---|---|
| Refrigerated | 3-4 days |
| Frozen | Up to 2 months |
Tips for Perfect Cherry Tart
Making delicious cherry tart needs careful attention. Here are some tips to help you make perfect tarts:
- Chill the crust for at least 45 minutes before baking. This helps the crust keep its shape.
- When putting the tarts together, gently press the crust into the tart pan. This makes the crust even and thin.
- Bake the tarts until the center is just set. The filling will firm up as it cools, so don’t overbake.
- Let the tarts cool completely before serving. This lets the flavors mix and the texture set right.
By following these tips, you can make the best cherry tarts. They’ll have a flaky crust and a gooey filling. Enjoy your hard work!
“The secret to making perfect cherry tarts is all in the details. With a little care and attention, you can create a dessert that’s truly irresistible.”
Storing and Reheating Tips
For leftovers or tarts made ahead, store them right. Cherry tart can be kept at room temperature for up to 3 days or frozen for up to 3 months. To reheat, bake them in a 350°F oven for 5-10 minutes until warm.
| Tip | Details |
|---|---|
| Chill the Crust | Chill the crust for at least 45 minutes before baking to help it hold its shape. |
| Assemble Carefully | Gently press the crust into the tart pan to create a thin, even layer. |
| Bake Just Right | Bake the tarts until the center is just barely set, as the filling will continue to firm up as it cools. |
| Let Cool Completely | Allow the tarts to cool completely before serving to let the flavors meld and the texture set. |
By following these tips, you’ll make the perfect cherry tart every time. Enjoy the sweet, juicy goodness!
Conclusion
This easy homemade cherry tart recipe is perfect for beginners or anyone looking for a fancy dessert. The crust and custard filling come together fast, making a tart that looks and tastes great. You can use sweet or tart cherries to highlight the season’s best flavors.
With a few tips, you can make professional-looking cherry tarts at home. This guide covers everything from making the crust to picking the right cherries. So, why not try making these treats and enjoy their sweet, tangy taste?
Remember, adding tart cherries to your diet regularly has many health benefits. Try them in recipes like overnight oats or smoothie bowls. With a bit of creativity and this recipe, you can enjoy a tasty and healthy dessert.
